Archive for September, 2006

Small Update…

Monday, September 18th, 2006

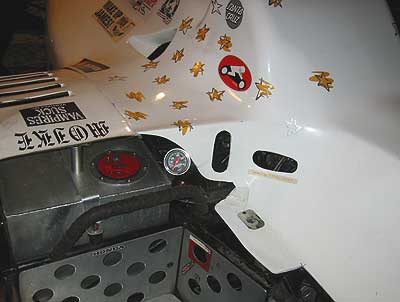
Two quick things.  Finished the bracket to hold the water temp gauge in position in the passenger compartment.  It turned out pretty well.  Just used a black powdercoated bracket I had set aside from a pair of foglamps.  A bit of modifying and it fit right up.  I foam mounted the gauge and dressed the cabling and wiring harness again.

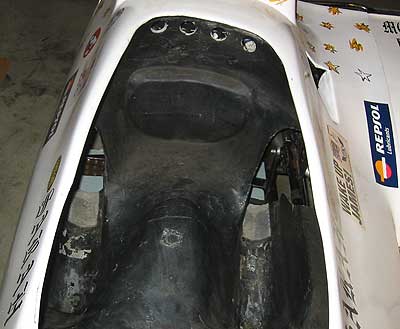
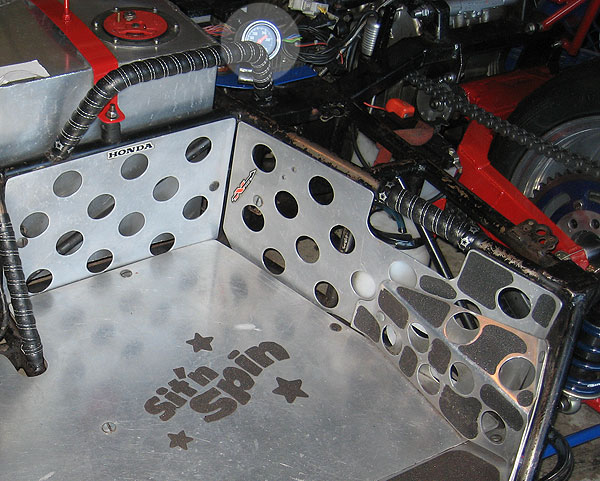
And I hopped in the CSR after the body was on to see for myself how the finished toe skidplate felt.  It’s perfect.  It keeps your feet in ideal height position relative to the shifter and brake pedal.  It also allows you to relax and not strain your quads holding your free-floating feet away from the controls.  Here’s the best shot I can get of what the toe skidplate looks like from inside the cockpit.

MySpace Page…

Thursday, September 14th, 2006

Set up a MySpace page today.  What a terrible experience.  It’s not designed for anybody with any real coding or manipulation skills.  But I guess when you cater to the lowest common denominator you have to nerf the hell out of everything or you’d need a technical support center the size of Alaska.

http://www.myspace.com/badcatracing

I’ll write a bit of glue that will take the updates from this 1and1 blog interface, which I prefer to use… and inject them into the MySpace blog in a hands off fashion.  Shouldn’t be too difficult.  (Shrug)  MySpace is supposedly generating more visits and traffic than anything else out on the interweb, so it makes sense to set up an account and start trying to garner some sponsorship that way.

I hit up Barry at Staircase Tattoo.  Hopefully I’ll hear something back.  It seems that tattoo shops and sidecar teams go hand in hand from what I can tell.  I think Barry will be into it. 

Skidplate Fabrication

Friday, September 8th, 2006

  At Fernley Sarah and I noticed that the foot controls are low enough that your toes scrape the track at times under full suspension load over bumps, or if you’re a bit sloppy with your footwork.  I’ve noticed that most rigs have skidplates that keep the drivers feet off the asphalt.  And something Jean-Guy said stuck in my head. “If you go off the track, lift your feet up.”  In my head the only thing I could see is Sarah’s foot getting sucked under the brake pedal and every bone in her foot and ankle getting broken, if not worse.

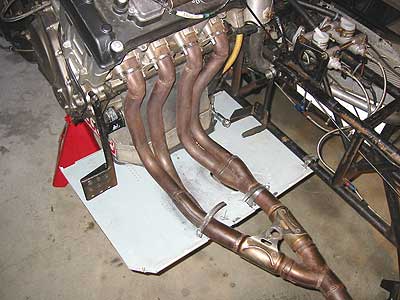
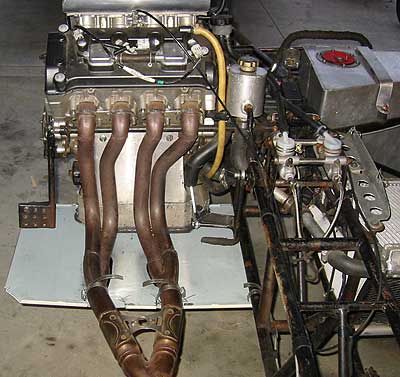
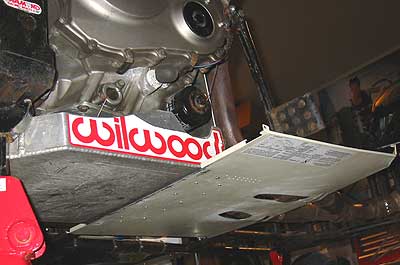
 So I fabricated a skidplate out of a spare bit of sheetmetal I had from a UPS case.  It is riveted and glued to the bottom of the oil catch pan, and secured at the front by three hose clamps at two points on the headers and one point on the frame.  I clearanced it nicely around the low points on the header downtubes to keep the sheetmetal flat.  The sheetmetal has a nice rounded edge along the front and back so there’s not much chance it will snag on anything.  We dropped the body on the chassis and had Sarah jump in to check the fit. Everything looks good.

 Hopefully this will allow her to worry less about keeping her toes up and focus more on her driving.  Once the glue is all set up I’ll sand the skidplate and catch pan, and hit the whole assembly with a few coats of flat high-temp black enamel.

New Parts

Tuesday, September 5th, 2006

 The parts came in for the Tilton master cylinder.  So I spent Labor Day removing the temporary master cylinder reservoir I borrowed off the RGM and installing the new remote reservoir adapter.  I was pleased with the E-Bay store Race Basics (http://stores.ebay.com/Race-Basics) I’ll be turning to them first when it comes to braking and other sundry components in the future.

 Installation wasn’t a big deal.  Cleaned out the Master cylinder, and blew the connecting hose and remote reservoir clean with compressed air before I test fit everything.  Once together I ziptied the hose ends and secured the nylon remote reservoir adapter with the new clamp I picked up as well.  I wish I’d bought an extra clamp, as the one on the other master cylinder looks pretty furry.
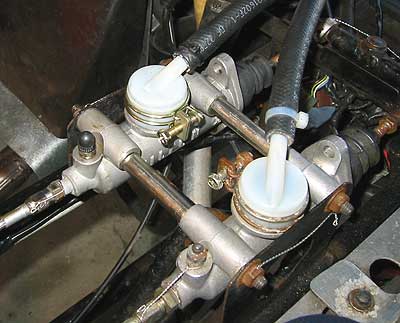
Once that was done I went ahead and started the process of bleeding the entire braking system.  This is not an easy task.  On race calipers each piston has it’s own bleeder.  That’s four bleeders on each wilwood caliper, and two bleeders on the SRP caliper.  Think about that the next time you’re whining about the three bleeders on your bike.  The rear wheel isn’t too bad, as I can get to all four bleeders on the caliper with the caliper mounted.  But the outboard wheel has to come off, and the front wheel has to come off and the wheel be removed from the hub/spindle assembly to allow full access to the wilwood caliper.  I have a decent vac-bleeder so the actual bleeding job isn’t horrible.  The first thing I noticed when I popped the outboard wheel off and really examining my SRP caliper is that it was mounted upside down.  The bleeders were on the bottom, and the crossover tube was on top.  It would be impossible to bleed all the air out of the caliper unless I took the caliper off and flipped it over while I was bleeding it.  Now this would suck every single time I wanted to bleed the brakes.  So the long term solution is to simply yank the bleeders from the bottom of the caliper, the crossover tube from the top, and swap them.  This took some time and finess as things were, er… cemented in place by grit, dirt, and time.  Lots of cleaning, a little heat, and very careful application of force got all the parts out in good condition.  I blew out the inside of the caliper body with compressed air before reinstalling the bleeders and crossover tube with a bit of threebond on the threads.  Once things were in place and the caliper was mounted and safety wired, I filled it with fluid using a neat jedi brake trick I learned helping Wade with his brakes at Fernley.  Once that was done I ran 1.5 bottles of good DOT3 through the entire rear/outboard braking system to ensure no air anywhere at all and buttoned it up.
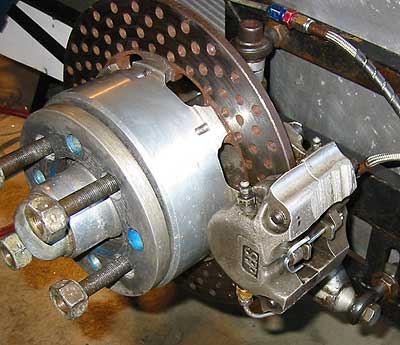
I finished with flushing and bleeding the front system, reassembling and safety wiring everything again.  All mushyness is gone from the brake pedal now.  I didn’t touch the balance bar or any of the bias on the master cylinders.  If it’s not broke, don’t fix it.  Since I had time left, I decided to yank the secondary AutoMeter water temp gauge from under the CBR1000RR dash in the drivers cockpit and relocate it to an area in the passenger compartment where I could see it.  There is a working built-in temp gauge on the CBR1000RR dash, and Sarah is much more focused on keeping the rig on the road than she is the innerworkings of the powerplant behind her.  It makes sense to assign that task to me.  I couldn’t find anything in the rulebook that said no to having any indicatiors or gauges in the passenger compartment, so I mounted up the AutoMeter next to the low oil pressure ‘turnsignal’ indicator light.  I fired the rig up and let it get to 160 to confirm both temp gauges were roughly in sync.  The CBR1000RR stock temp gauge picks up in the engine, and the block runs about 6 to 10 degrees cooler initially since it takes awhile for all that metal to come up to operating temperature.  The AutoMeter gauge shows a more accurate reading of the actual coolant temperature since it’s pickup is right in the filler reservoir assembly.  I’m happy with this, and I’ll feel much more comfortable at the track knowing that now I have an estimate of what the engine health is.
Testing…

Saturday, September 2nd, 2006

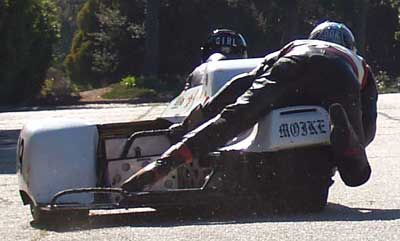
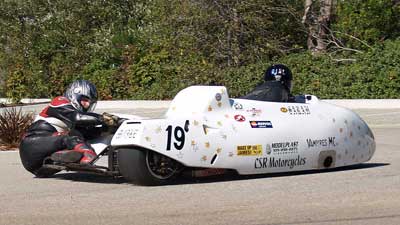
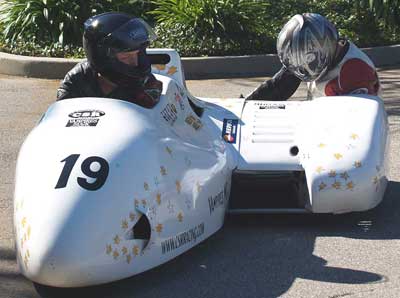
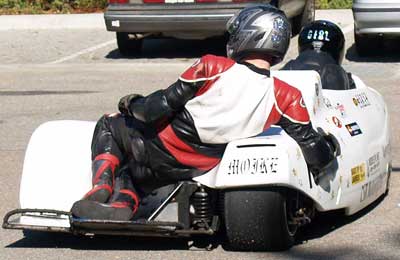
Sarah and I went out to the Westside Proving Grounds to test the new shifter assembly and twist throttle.  The twist throttle is spot on, but the shifter assembly length will need some adjustoment and fine tuning for Sarah.  Not a big deal.  The brakes proved to be an issue, they’re spongy a bit… something that will get fixed when the parts for the Tilton finally arrive.  We couldn’t find a happy medium in brake pedal placement for Sarah’s foot.  One click on the spline back, it’s too far back… she can’t put enough pressure on the pedal to lock up the wheels.  One click forward, it’s too close… she can’t get her foot on the brake pedal without hanging up.  I’m thinking 99% of this has to do with the crappy combat boots she wears.  They have big boxy toes and fat waffle soles.  If she had a real pair of roadracing boots we could leave the brake lever forward and it’d probably fit her perfectly.  All in good time.  Next time we go testing I’m going to have her wear the thinnest shoe she has on her braking foot to see if it makes a difference.  it’s that, or I fabricate a new brake pedal.  Here’s some shots from our goofing off via Eric.


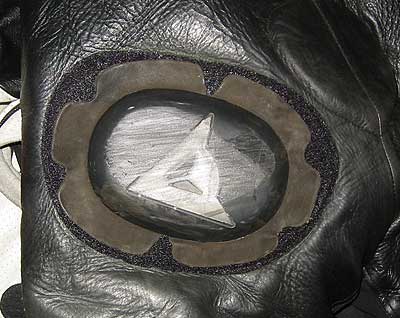
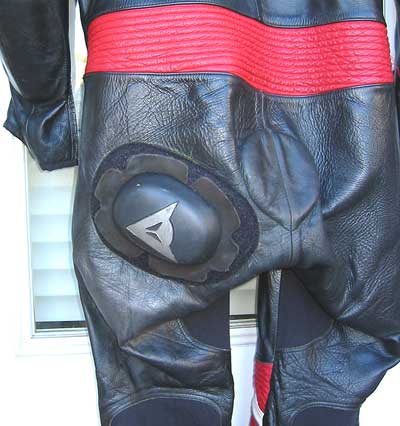
Oh, and inital tests of the asspuck show it’s placement perfect.


Ass Pucked

Friday, September 1st, 2006

Picked up my suit from Helimot today.  I’ll let the picture do the talking.