Yoyodyne Slipper clutch.

So easy to install even a driver could do it.
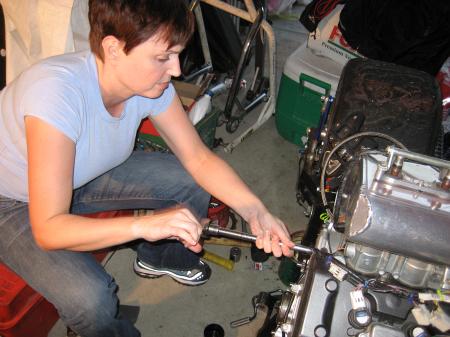
So with Mike providing pointers and handling anything that needed a serious amount of brute force to tackle, I installed the slipper clutch in the CBR1000RR engine that powers our CSR. It was rather simple.
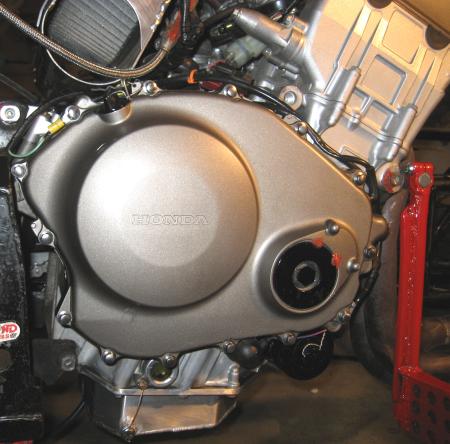
First things first. Oil needs to be changed before the next race, so out comes the bolt on the deep sump pan and three quarts of ‘still looks good to me’ Repsol 4t hits the bucket. Fourteeen 8mm hex head bolts later and a couple taps with a rubber mallet and you’re greeted with this sight.
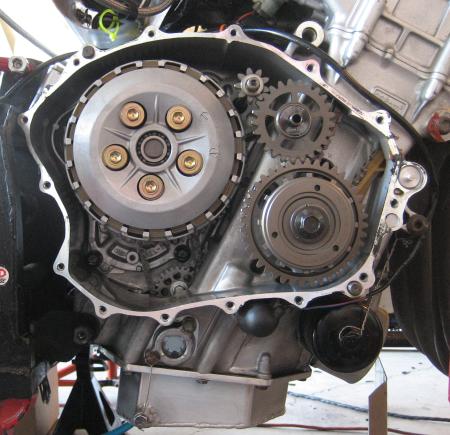
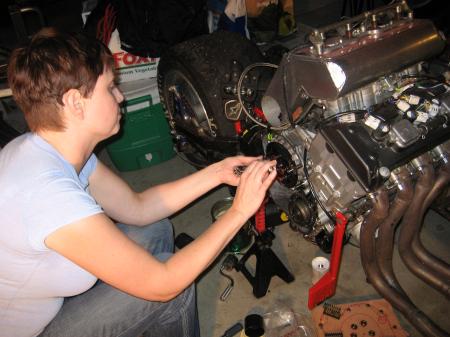
Remove the five 10mm hex head bolts holding on the clutch springs, the outer pressure plate, grab your dental picks and slide out the clutch plates out keeping them in order, the two spacer rings at the base of the basket paying close attention to their orientation, and put a huge amount (Mike comes in at this point) of force on the 12 point 30mm clutch hub nut to break it loose. Most of the normal world would need to run out and buy a 12 point 30mm socket. With Mike it’s, “What color would you like that in, my Dear?” Once the nut is off, remove the two washers, slide the clutch hub off, and the big flat washer always sticks to the back, slide it off and set it with the other two washers. Once that is done you can pop the clutch basket off by sliding the upper starter drive gear out of it’s race and turning the basket sideways. Mike says this is a great time to inspect the needle bearings and associated clutch hardware. You’re greeted with this sight when you’ve done all the above.
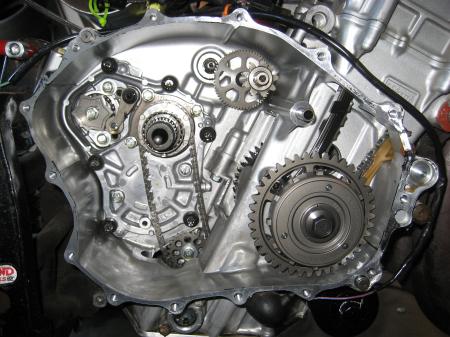
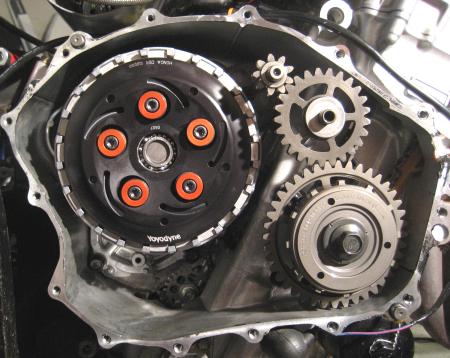
And check this out, this is so cool! You can see the crank and a connecting rod through a big clearance window into the crankcase. That chain coming off the transmission input shaft drives the oil pump.
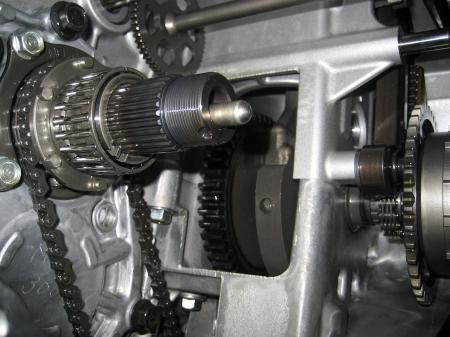
Once everything is given the ok, I reinstalled the clutch basket making sure that it was fully meshed and flush with the output gear on the crank. Then I popped on the big flat washer, and slid on the new Yoyodyne slipper clutch hub. Once that was in place and I was happy it was flush and turning freely without binding I replaced the two outer washers and put some blue LocTite on the clutch hub nut and cinched it down. At that point Mike jumped back in with a four foot long torque wrench, and per the instructions threw an ‘assload of newtonmeters‘ on the clutch hub nut.
Once he was done grunting and showing the clutch hub nut who the alpha male in the room was, I unpacked our new Barnett (thanks Jocelyn!/We all Ride) complete clutch pack kit. This is simple, standard friction first, metal plate THEN the narrow friction ring and the two OEM judder rings from the original clutch pack that ride on the inside diameter of the thin friction ring (standard order on a stock CBR1000RR clutch pack is narrow friction ring/judder rings, metal plate, standard friction, and so on) then metal, friction, metal, friction, lather, rinse, repeat. Till you get to the outside of the clutch pack where you top it off with one final thin friction ring. Then the pressure plate goes on, and the new springs go in place held in with their keepers. Mike told me to NEVER use any kind of LocTite on the allen head bolts that hold the springs on a clutch pack in place. He says he did this once and ended up snapping a post off the clutch hub trying to get the LocTite’ed bolt out. Anyway, the pressure of the springs alone is more than enough to keep the bolts in place as long as you bottom them out and cinch them down snug.
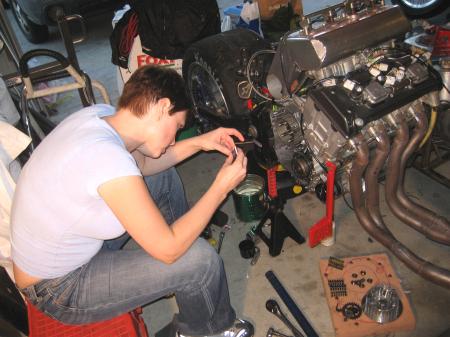
And this is what you have when you’re all done. A sexy Yoyodyne slipper clutch ready for action at Reno-Fernley Raceway on August 17th, 18th, and 19th.
While I was installing things Mike went psycho-OCD and polished all the 8mm hex-head bolts that hold on the right side engine case. A little three-bond around the outer edge after wiping the mating surfaces down with some brake cleaner and things just slide back together. I went through with the small torque wrench and cinched everything down to the ‘click’. We then put the drain plug back in, safety wired it, and filled the engine with three fresh quarts of Repsol 4t. And that’s it, a lazy afternoon of work to install a product that should really help me out on the track.
~Sarah